-
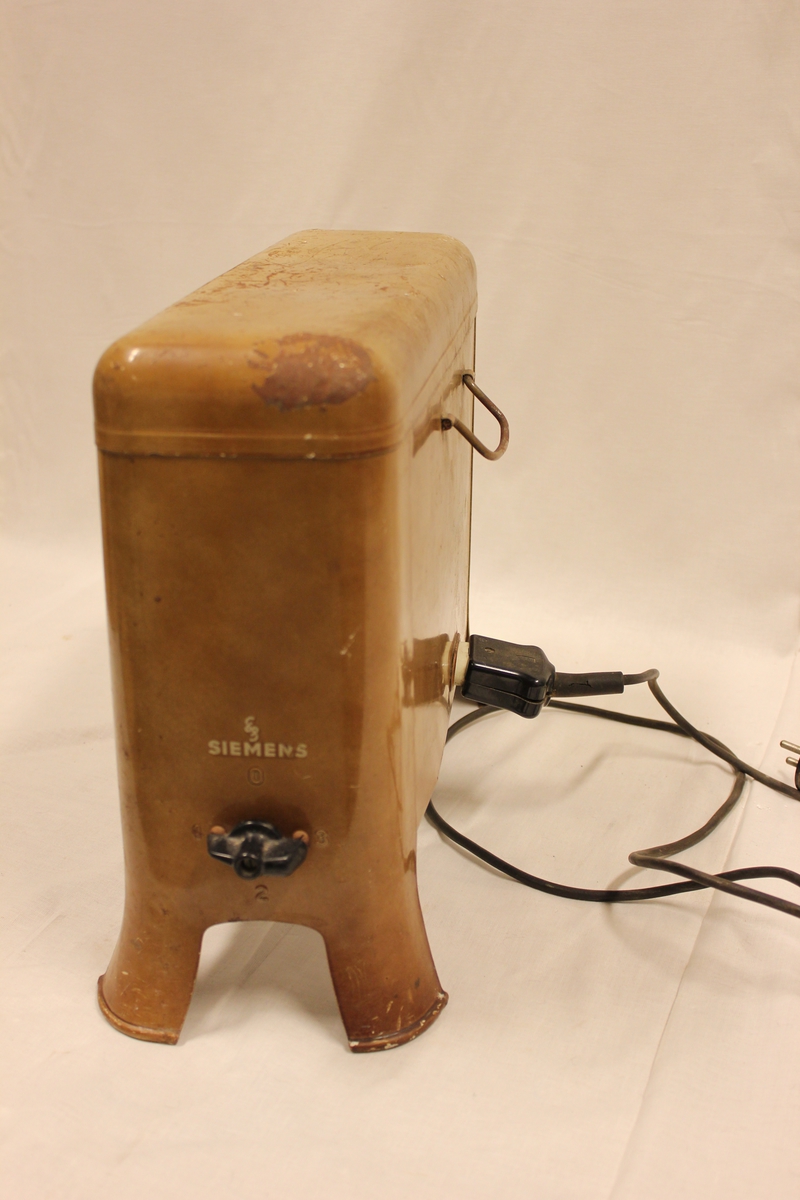
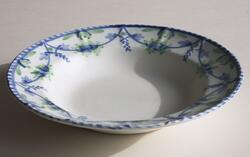
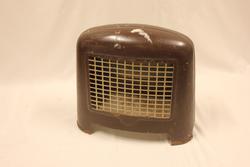
Photo: Lindesnes Bygdemuseum -
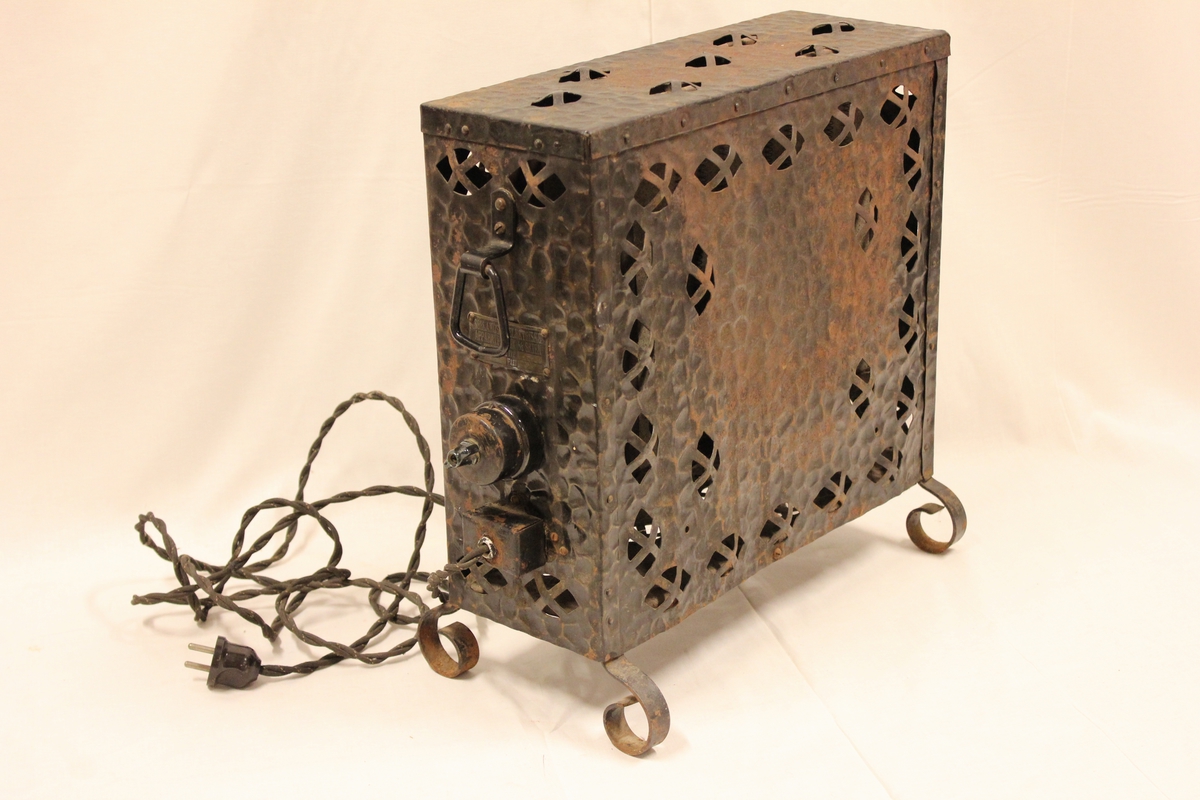
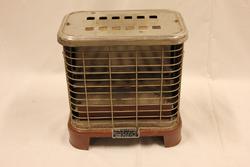
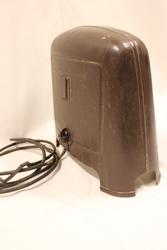
Photo: Lindesnes Bygdemuseum -
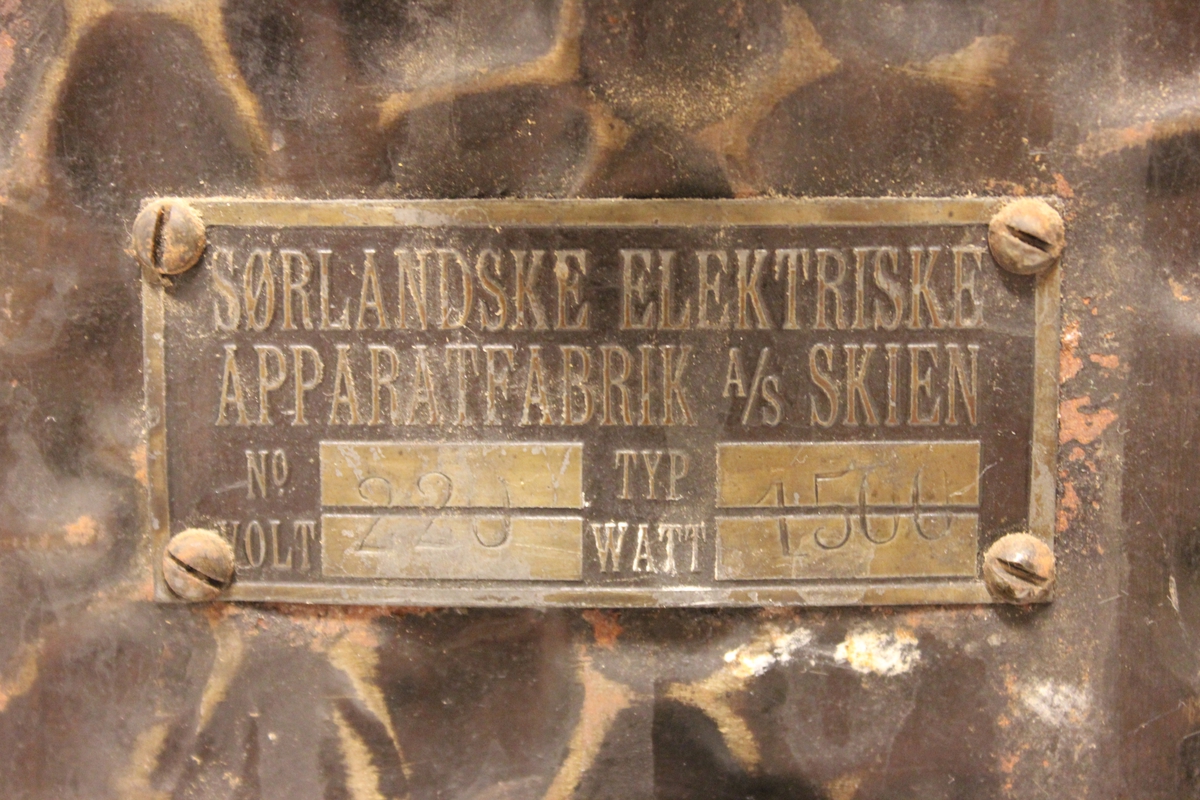
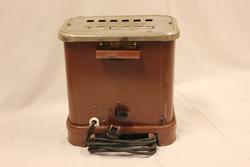
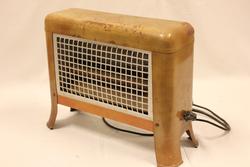
Photo: Lindesnes Bygdemuseum -
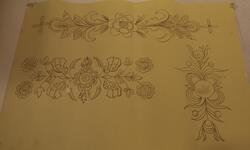
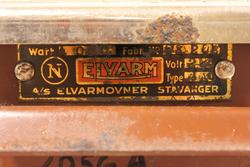
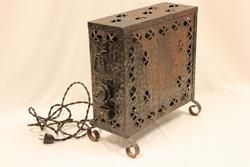
Photo: Lindesnes Bygdemuseum -
Photo: Lindesnes Bygdemuseum -
Photo: Lindesnes Bygdemuseum -
Photo: Lindesnes Bygdemuseum -
Photo: Lindesnes Bygdemuseum -
Photo: Lindesnes Bygdemuseum


Select the images you want to order

Add a comment or suggest edits
To publish a public comment on the object, select «Leave a comment». To send an inquiry directly to the museum, select «Send an inquiry».